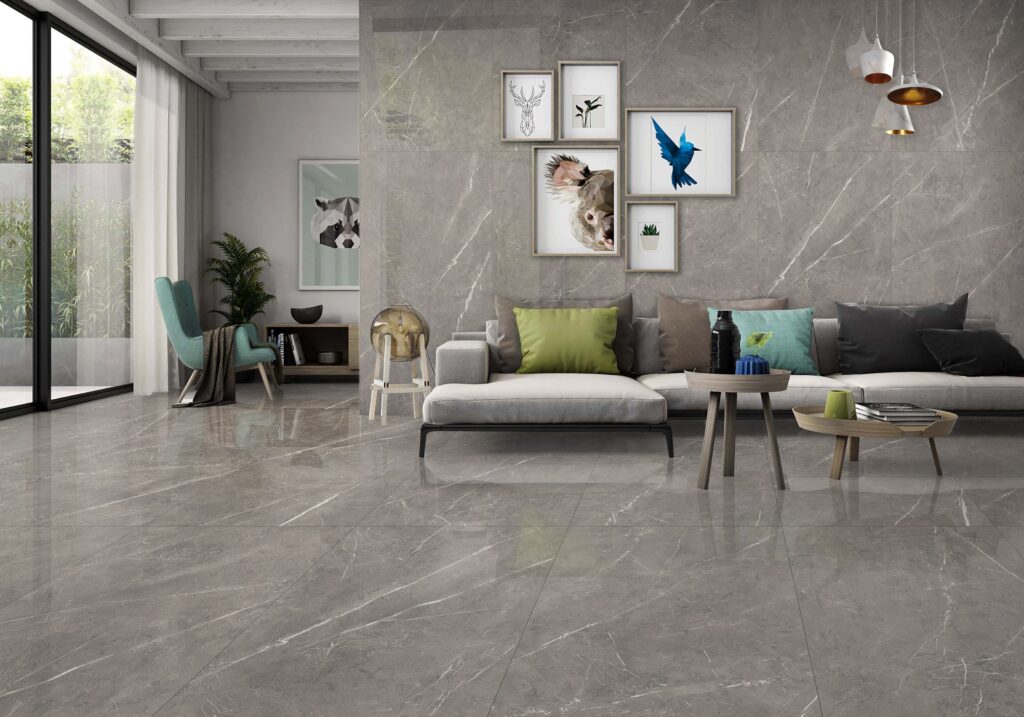
At the end of the nineteenth century, due to industrialization, Glazed Porcelain Tiles were manufactured entirely commercially and made available to everyone. Due to the need for new layouts in ceramics, ideas, production processes, and design emerged, and new opportunities opened up to find other ceramics. Then, with each new step, Porcelain Tiles was the next big thing in ceramic tiles.
Thus, natural clay, adding various minerals, is the principal material for constructing Porcelain Tiles. Porcelain tiles involve using excellent clay, which undergoes high temperatures before processing. This treatment imparts several features to the tile, such as lowered water absorbance, ideal make-up, and the necessary durability to serve all uses.
With advances in the manufacturing methods of tiles, Glazed Porcelain Tiles manufacturers across the globe have changed the looks and performance of these tiles. Do you want to know how these machinist tiles are made? Here, we have outlined processes that must be followed in producing porcelain tiles.
How Are They Made?
Porcelain tiles are made of finer clay, fired at high temperatures to remove water to produce a hard, thick tile. Porcelain tiles are compact and durable, with less than 0.5% moisture retention.
Porcelain tiles are vitrified tiles, which include quartz, silica, or feldspar to a clay blend. This reduces porosity and weak water absorption capacity, making the tiles harder and more substantial to force.

The process of manufacturing porcelain tiles involves the following phases:
- Batching
Most porcelain products in this study possess an identifiable body composition impacted by the quantity and nature of the raw materials used in their production. The raw materials determine the hardness of the tile body, the general colour of the tile, and other characteristics. As a result, ensuring that the ingredients used in the process are mixed in the correct proportions to achieve the right quality becomes essential.
For the right proportion of these raw materials, one has to use batch calculations to measure the appropriate weight of the raw material.
- Mixing & Grinding
All required materials, such as sand, clay, feldspar, silica, and others, are fed into a gigantic ball mill container. In the mixing process, water is put in a predetermined ratio when performing this mixing process. Unlike cement mills, ball stones or alumina pebbles help to mix and employ the finer particles. Slip is the end product of this water-filled slurry.
- Color Mixing
The garment-like shapes produced in various colours are added directly to the slip by adding glaze colours. Blending is done in a high-velocity blender tank, commonly called a blending vessel. This procedure can be skipped on a simple body with the first skin tone and texture retention.
- Spray Drying
Special equipment known as a spray drier is then applied further to reduce the water level. The slip flows into an atomizer containing nozzles during the process. It also evaporates their moisture as the hot air surrounds the packs of slip droplets. Then, the liquid slip will become a powder.
- Creating the Tile
The subsequent process is dry pressing, where the dried slip powder is shaped in tile form using a forming die. Over seven and a half thousand tones of pressure force the material into a steel plunger, creating a pressure of over 400 kilograms per square centimeter. This procedure should provide a less porous ceramic mass, and after fir, the body should be firm with minimal water absorption.
- Drying
The tile undergoes a long drying process to remove any moisture it contains to reduce the incidence of shrinkage cracks in a moist atmosphere.
- Printing & Glazing
The following process employs laser inkjet printing and patterns to cover the body colour and obtain the intended effect, colour, and texture on the tiles when dried. This process will also enhance the ability of the tile to hold stains, and it will have a pattern that is different from others. Finally, a glaze material layer and a glossy and moisture-resistant coat are added to part or all of the internal decoration.
- Firing
It is time to fire the tile in a roller kiln; the temperature is at 1200°C. The soft clay will produce a firm, resilient, non-porous tile, which will help to set the glaze and evaporate the remaining moisture due to heat. The firing time and heat are adjusted depending on the size of the produced tile.
- Polishing & Squaring
The majority of tiles are transported for polishing. After this procedure, tiles are honed and polished to reflect a fabulous glossy finish on their surface. Tiles may be polished to a lappato surface or glossary finish using different abrasion instruments and different degrees of polishing. Can the edges of completed tiles be adjusted or not to adjust them at all? Squaring, or rectification, involves trimming or sanding the tile edges to one uniform size for ease in lay with slight variation.
- Selection & Packing
This is the final stage before the tiles are delivered in the most convenient packing. The degree of flatness, dimensions, colour, and size of each tile’s ‘face’ or upper surface edge will determine the grading. Subsequently, they are classified and stored in appropriate boxes depending on their identification.
Conclusion
Porcelain Vitrified tiles are preferred when decorating your home or designing a commercial building. Here, you will learn about the production of these fantastic tiles. The process is cumbersome and time-consuming, and skilled operations are needed to ensure that each tile is high quality. Porcelain Vitrified tiles come into perfect raw material selection through manufacturing processes and provide a stylish yet strong finish that will endure for years on floors that can withstand high traffic.

